Link your building project
(and your building height dwg if you have one)
with the topography (contours) project to reduce file size and improve editability.

Trim down the contours dwg with Rhino and save as a dwg polylines. Rhino will align the various files from DigiMap without any complications.
Trim down the building height dwg with Rhino by deleting all the unwanted buildings and split using Mesh Edit/ Split and save as a dwg 2000.

The following is best performed from the 3D view in Revit.
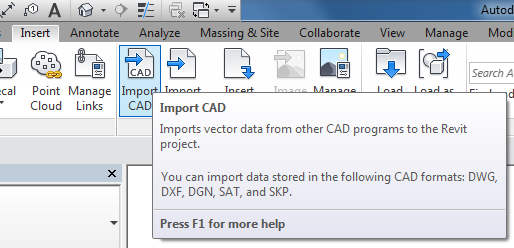
From the Insert tab choose Import CAD and select the Topography dwg.

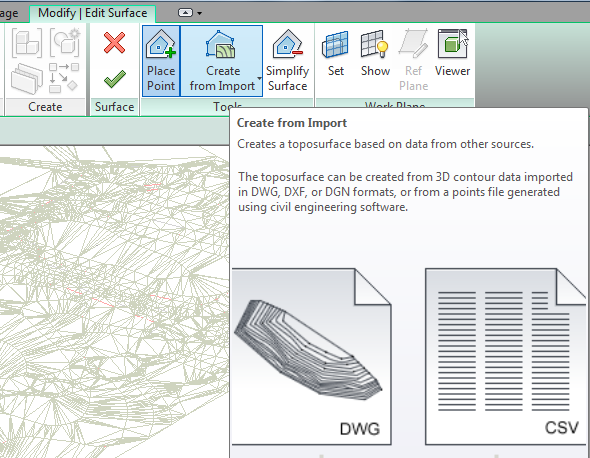
Select Toposurface from the Massing & Site tab.

Then Create from Import.
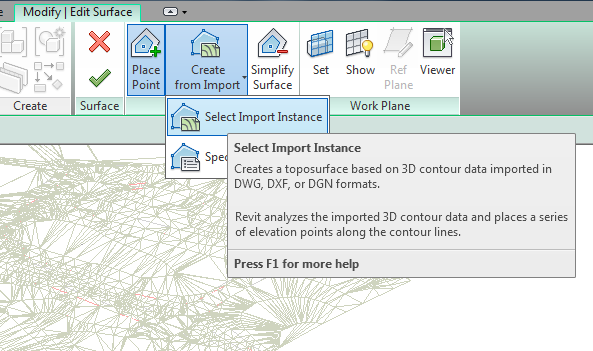
Choose Select Import Instance.
Select the imported dwg and add master and ordinary contourlines along with spotheights that are at the true height then click the green tick.
Delete the dwg file.
Tab between object selections to find the dwg, it may need to be unpinned.
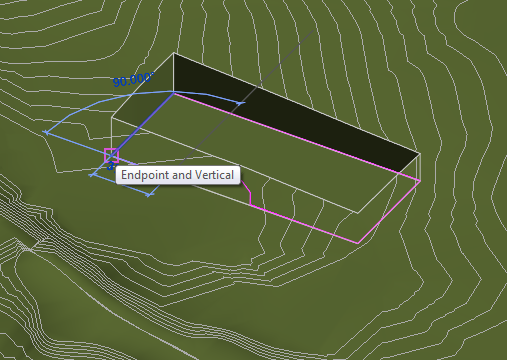
Then choose Building Pad from Massing & Site.
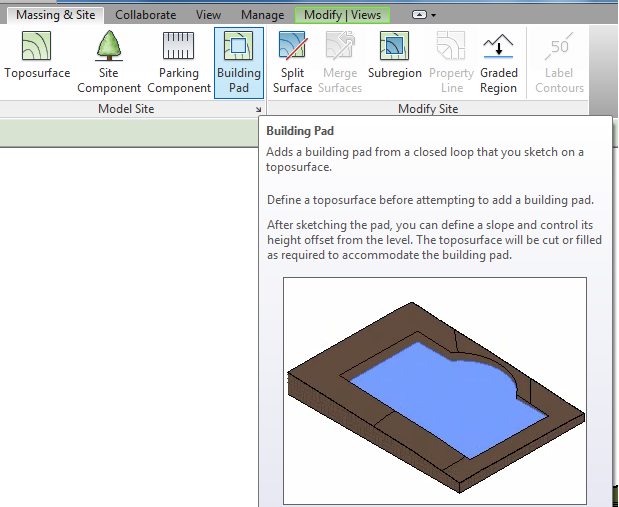
Draw a rough outline of the building slab and click the Green Tick.
This can be adjusted to the building later.
From the pad properties adjust the height offset from level as required or create a new level and use that.
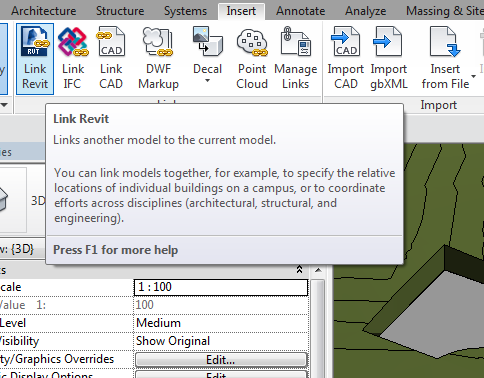
From the Insert tab use the Link Revit option to attach a building model.
Align and move can be used to move the building to the pad.
Switch to Wireframe if the building is hidden below the topography.
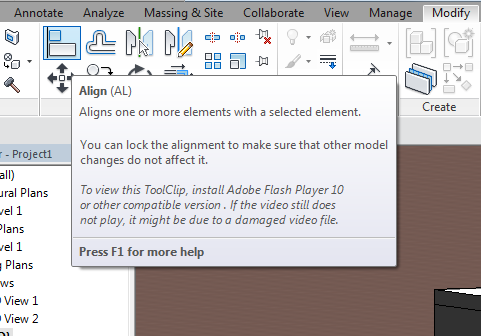
With align, select the pad and then the building base.
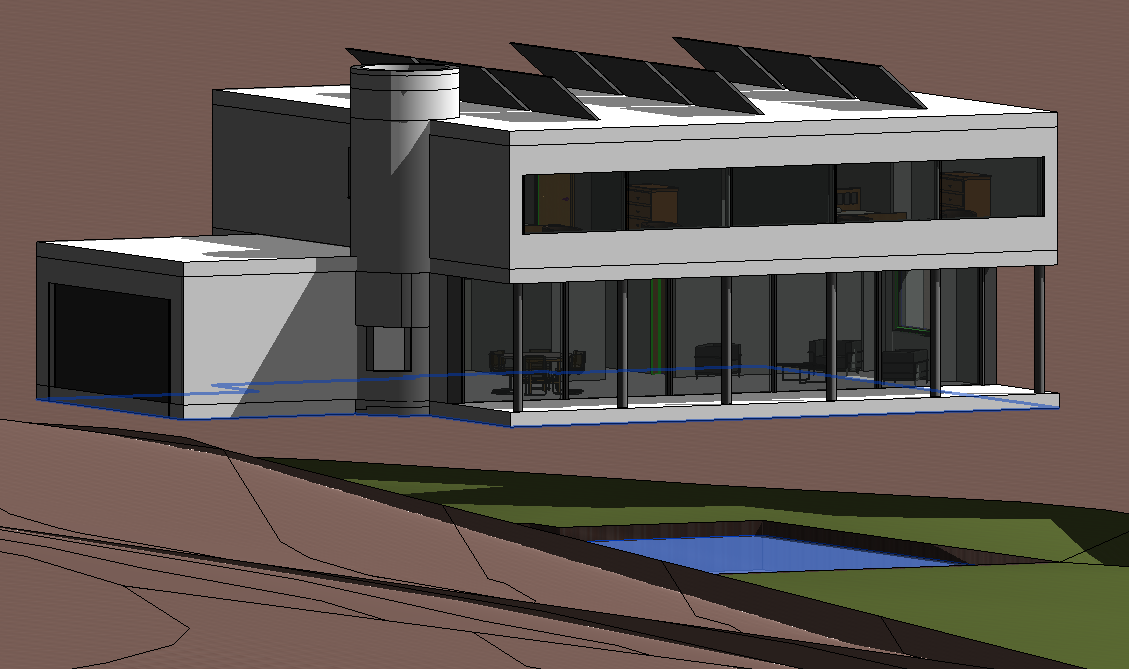
When editing the building project, close it before returning to the topography.
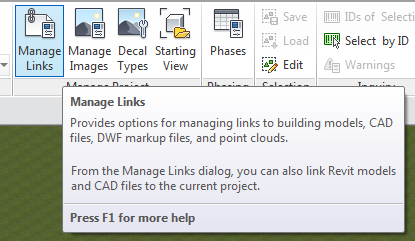
Use Manage: Manage Links to Reload the building project.
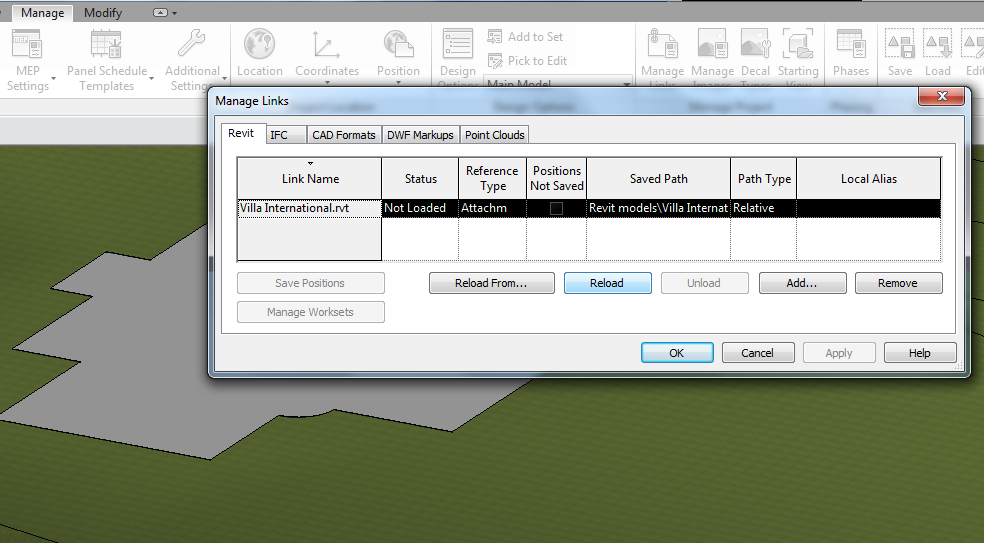
This will place the modified building project back on the pad.
A dwg containing
mastermap building heights can be linked from the Insert tab, use the Link CAD option with the import units set to meter.

To cut a section through building height data, orientate a 3D view to the section cut or use the Section box option.